Color blocking fashion is the fashion trend, at the moment. Any boring old clothing item gets a true uplift when you add various blocks of color here and there. You can make it in any color combination you want or even play around with different patterns. This way you can make your sweater crazy, classy, whatever you want! Make it your own.
Make An Old Sweater New-ish
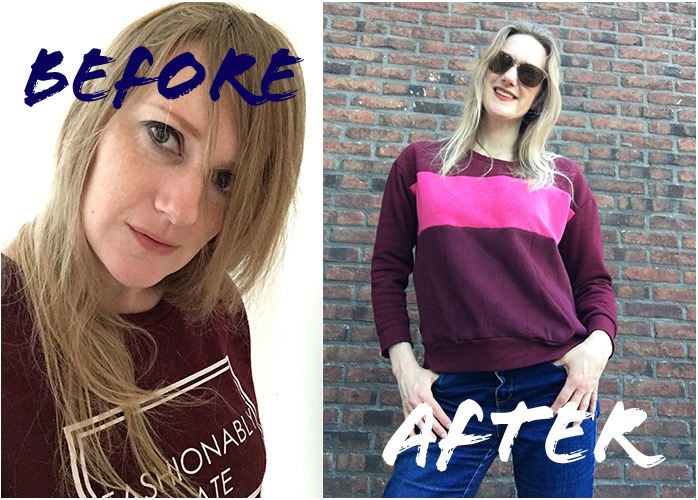
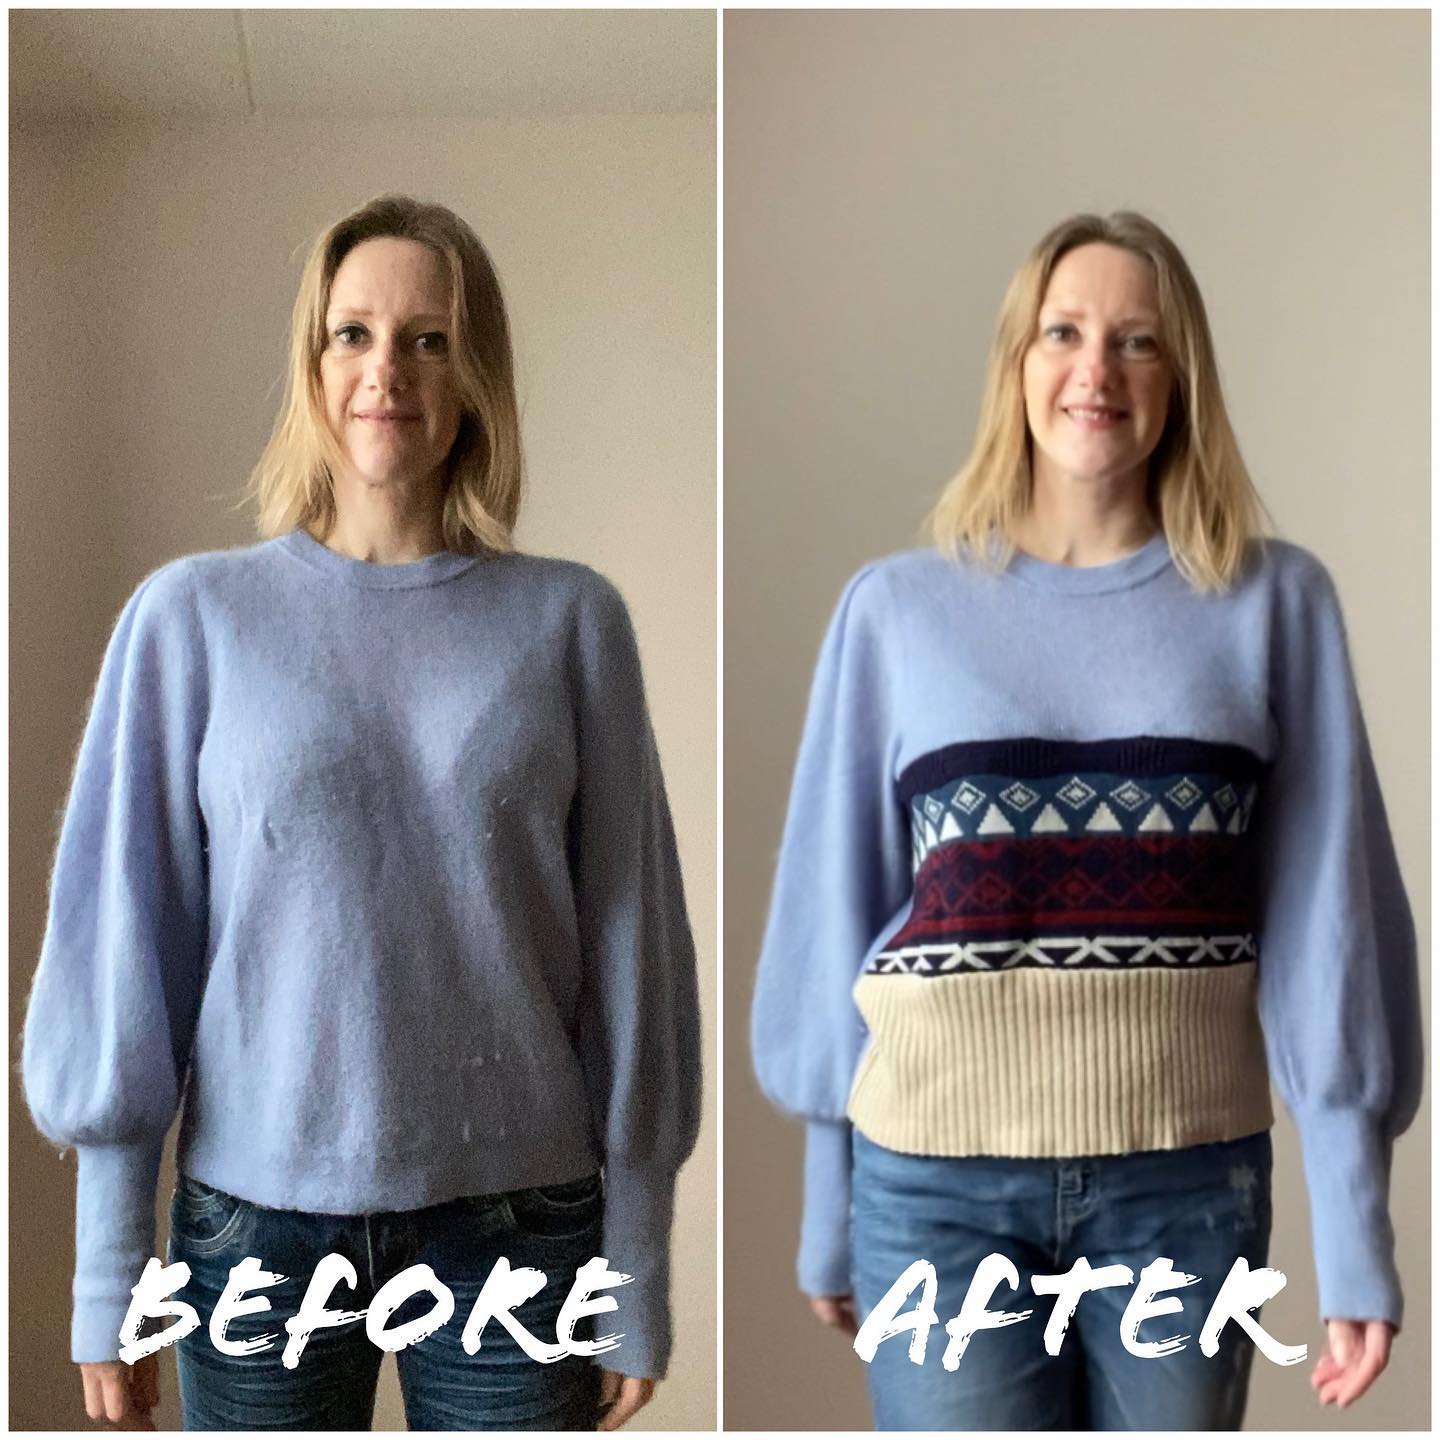
Speaking of making it your own, I’ve already upcycled two sweaters with color blocks. Both original sweaters had issues. Color blocking was perfect to ‘fix’ them and give them a second go-round.
How To Color Block Old Clothes
Actually, it’s pretty simple to do. You need:
- a sweater to upcycle,
- other fabrics for the new color blocks,
- a seam ripper,
- scissors
- sewing machine
- thread
When you have all that, these are the steps:
1. Create The Pattern – Just Cut The Patches You Need
Firstly, determine which patches of the sweater you want to replace. Use a seam ripper to unpick the seams. Whatever shape of fabric you’ve cut out, is now your pattern for the color blocks. If you want to replace one patch with multiple blocks, cut up the original patch to the sizes you need.
Now, I’ve chosen pretty simple horizontal blocks. Very straightforward and nothing complex, but you can go all out, if you want.
2. Match Up Fabrics
Then, the fun begins. Find other fabrics to mix and match!
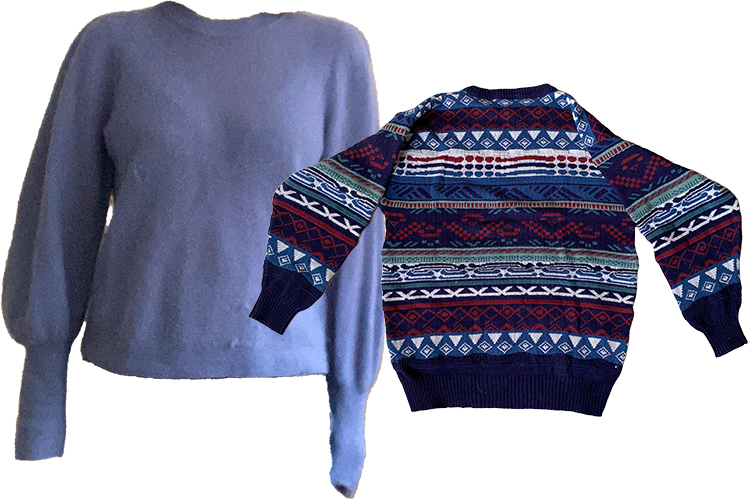
Mostly, this is the biggest challenge for me. I challenge myself to only use fabrics from other clothes. I avoid having to buy new fabric for these small projects, but if I would, I’d look through the left overs most fabric stores have on sale.
BTW, I usually lay out various combinations of the new fabric to get some idea of which one works best.

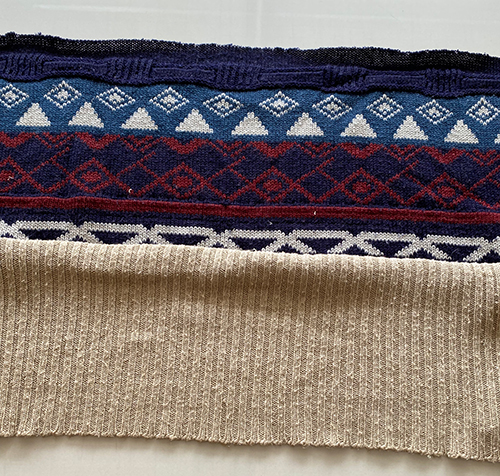
3. Cut The New Fabric To Size
Once you’ve chosen the new fabrics, it’s time to cut them. Remember to add a margin for the seams you need!!
4. Sew It Together
It’s a bit of a puzzle putting the sweater back together with the color blocks. Think about it before you begin.
In the case of my blue sweater, I sewed the new patches together first and then sewed them onto the sweater. With the red sweater, I did it directly on the sweater. I think the latter worked better, but it really is down to you.
Good luck on creating yours!